Orange Peel in Paint: Causes, Prevention and Repair
Orange Peel in Paint: Causes, Prevention and Repair ! Orange peel texture on glossy coating Orange peel is a textured, wavy surface that appears when a coating fails to flow and level before it hardens.
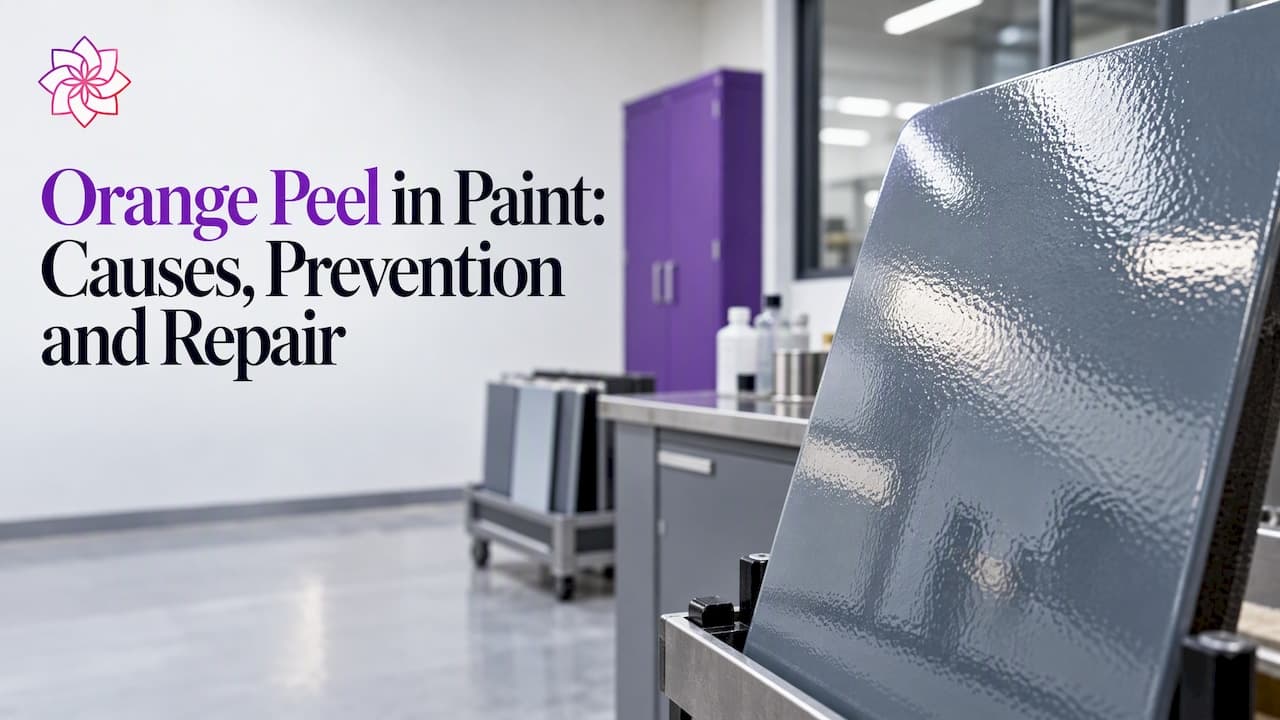
Orange peel is a textured, wavy surface that appears when a coating fails to flow and level before it hardens. The usual causes are application variables (atomization, film build, reducer speed, temperature and gun setup) and formulation variables (viscosity, solvent balance and surface tension behavior). Light cases in cured clearcoat are corrected by machine polishing; severe cases require sanding smooth and refinishing under corrected conditions. Prevention is almost always cheaper than repair, and it starts with diagnosing which variable is out of range.
TL;DR
- Orange peel is an uneven, bumpy film that resembles citrus skin. It forms when paint lands on the surface but lacks the time or material flow to level before drying.
- The main causes are under-reduction or low air pressure, a reducer that evaporates too fast, heavy or uneven film build, incorrect gun setup, cold or overheated conditions, and poor technique.
- Prevention follows the technical data sheet: correct mixing ratio, reducer matched to temperature, recommended air pressure, full wet coats and the specified flash times.
- Cured orange peel is polished out when mild and sanded and refinished when extreme. The root cause must be corrected first, or the defect returns.
- Formulation also matters: viscosity, solvent balance, defoaming and rheology control influence how well a coating levels, which is where additive selection becomes relevant for manufacturers.
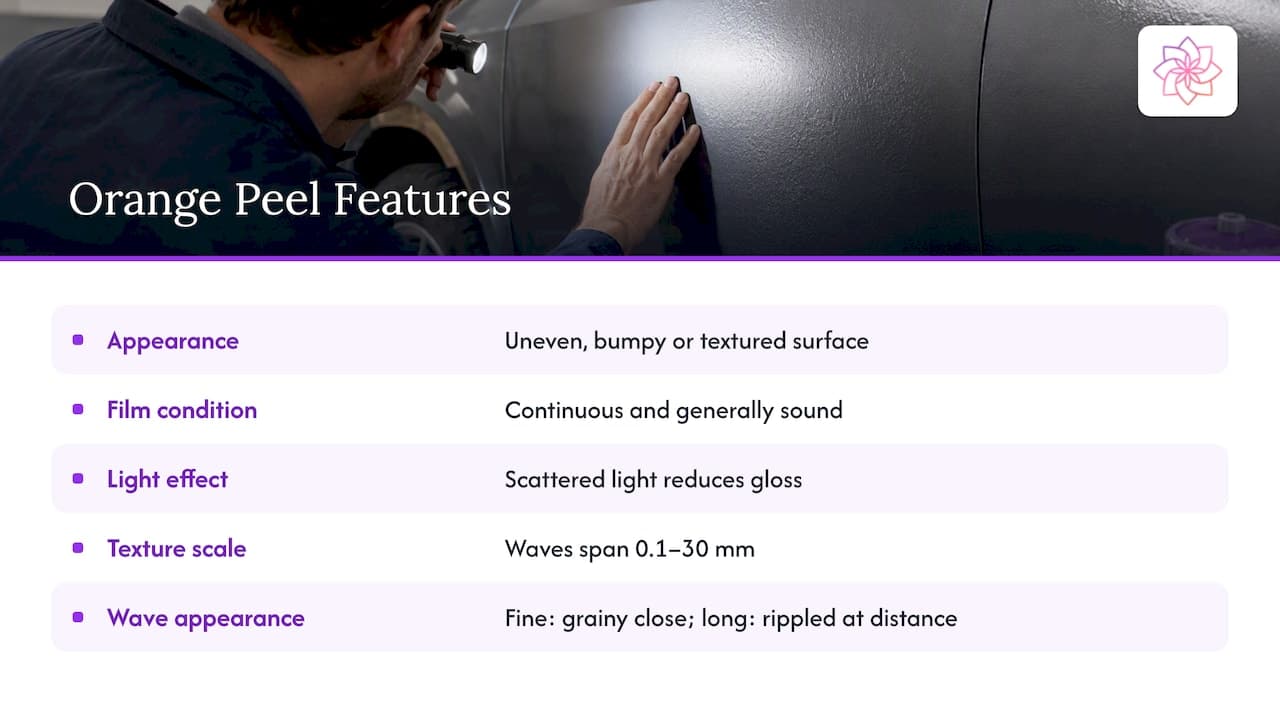
Orange peel is an uneven, bumpy or textured surface formation that resembles the skin of an orange, as PPG's refinish guidance describes it. The film is continuous and generally sound, but its surface is no longer flat. Instead of reflecting a sharp image, it scatters light, so gloss appears reduced and reflections look distorted.
The Caltrans coating defects appendix characterizes orange peel as wavy structures between 0.1 and 30 mm in size that result from poor flow and leveling. That range is wide, and it explains why the defect is not a single phenomenon. Fine, short-wavelength texture reads as a grainy or dull surface up close, while longer waves read as a rippled reflection from a distance.
Orange peel is judged by eye, and distance changes the verdict
Visual rating is common and subjective. Caltrans notes that orange peel is often evaluated with descriptive terms such as degree of peel or texture. GARDCO adds that visibility depends heavily on observer distance: greater distances mask finer structural detail. For a manufacturer or applicator this has a practical consequence. An acceptance standard written as "smooth" is ambiguous, and a defined viewing distance, lighting condition and reference panel remove most disputes between supplier, applicator and end customer.
Orange peel is not always a defect
Some products deliberately carry the texture. Spray-applied texture on interior walls and ceilings is a familiar example, and in that case the effect is wanted. The rest of this guide concerns the more common situation: a coating that is meant to be smooth, glossy and distinct in image, such as automotive refinish, industrial topcoats, metal finishes and clearcoats.
Why orange peel forms
The physics of drying
As a sprayed film dries, volatile components leave the surface first. The composition therefore varies with depth, and so do surface tension and density. The University of Toronto Centre for Advanced Coating Technologies explains that these variations can drive convection flows, which leave an uneven surface known as orange peel. At the microscopic level, surface tension gradients created by solvent concentration differences produce Marangoni convection cells.
A peer-reviewed study of surface tension-driven flows in orange peel formation found that thin paint films may become smooth, whereas thicker films retain wave-like structures as they dry. The concentration gradients persist in thicker films and keep driving cellular flows until the film hardens. Two practical points follow from this:
- Leveling is a race. The film must flow out before viscosity rises to the point where flow stops.
- Film thickness cuts both ways. Too little material leaves insufficient volume to level (a thin clearcoat is a frequent cause of grainy, low-gloss finishes), while excessive build sustains the gradients that create texture and risks runs.
Application causes
The Sherwin-Williams Automotive Finishes troubleshooting guide defines orange peel as an uneven, textured film. It identifies these causes:
- under-reduction or low air pressure;
- a reducer that evaporates too quickly;
- excessive film thickness or heavy wet coats;
- incorrect gun setup;
- poor technique.
PPG's guidance agrees and adds that gun adjustment problems include too little air pressure, wide fan patterns or excessive distance from the panel. Reducer choice, paint thickness, booth temperature and proper mixing all affect flow and leveling.
Environmental causes
The Axalta paint defects manual states that extreme shop temperatures can cause droplets to lose solvent and dry before they flow and level. It also notes that when first coats of enamel become too dry, solvent from later droplets can be absorbed into the first coat before proper flow is achieved. A substrate that was not sanded thoroughly can also produce the defect.
BASF's automotive coatings defect guidance lists low film build, high viscosity, improper solvent reduction, high booth temperature, excessive gun distance and improper atomization as causes.
Process interaction
The causes rarely act alone. A process-oriented study published in PCI Magazine found that film build, atomization and coating temperature at application have a significant interactive impact on finish quality. Its test used a 1-minute intercoat flash and a 10-minute post-spray flash before curing. The consequence for troubleshooting is that changing one variable at a time, while recording the others, is the only reliable way to isolate the driver.
Cause-and-fix reference table
| Observed condition | Likely contributor | Corrective direction |
|---|---|---|
| Fine, grainy texture, low gloss | Thin film, insufficient atomization, low air pressure | Meet film-build targets; raise air pressure within the data sheet range; check tip and fluid settings |
| Coarse, wavy texture | Heavy coats, high viscosity, cold material | Check coating temperature and spray viscosity against the supplier specification before changing reducer |
| Texture with dull, dry-sprayed appearance | Fast reducer, hot booth, excessive gun distance | Select a slower reducer matched to conditions; correct distance and fan pattern |
| Texture appearing over a repaired or recoated area | Dry first coat, short or long flash time, poorly prepared substrate | Observe flash times; sand and prepare thoroughly before recoating |
| Texture on a whole batch of panels, same each time | Formulation or reduction issue | Verify mixing ratio, viscosity at application temperature and additive package |
Preventing orange peel during preparation and application
Follow the technical data sheet before adjusting anything
PPG lists prevention as following data sheet mixing ratios and using the correct reducer for conditions. Sherwin-Williams elaborates: use the proper reduction ratio and recommended air pressure; select reducer by temperature, humidity, air movement and repair size; avoid heavy coats and excessive film thickness; use the recommended gun, fluid tip and air cap, adjusted for best atomization and a balanced pattern; hold the gun perpendicular and parallel to the surface; and adjust pass speed, overlap and distance to reach the desired appearance.
Check temperature and viscosity first
Products Finishing advises measuring coating temperature and spray viscosity against the supplier's specification before changing reducers. Cold material can remain too viscous to flow, and manufacturer solvent-reduction guidance should be applied only after temperature is correct. Adding reducer to compensate for a cold drum is a common error: the film then behaves differently once the material warms in the booth.
Match tip size and pressures to the coating
The same Products Finishing article explains that tip size, air pressure and fluid pressure must match the viscosity of the coating:
- A tip that is too small can dry-spray.
- A tip that is too large can flood.
- Fluid pressure that is too low can starve atomization.
- Pressure that is too high can over-apply the coating.
A practical pre-spray checklist
- Confirm coating and substrate temperature are within the data sheet range.
- Measure spray viscosity (for example with an efflux cup) and record it with the temperature.
- Confirm the reducer speed suits booth temperature, humidity and air movement.
- Verify air pressure at the gun, not only at the regulator.
- Set the fan pattern and gun distance, then spray a test panel.
- Check film thickness against the target with a gauge.
- Apply full wet coats and observe the specified flash times between them.
On the fear of runs, which pushes many applicators to spray too light and too fast: a thin, dry coat cannot level, so the correction is controlled wet film at the recommended build, not lighter passes.
Fixing orange peel in a cured finish
Decide by severity
For a cured coating, PPG recommends machine polishing or compounding to remove orange peel. Axalta advises that in extreme cases the surface be sanded smooth and refinished with a slower-evaporating thinner or reducer at the correct air pressure. A workable decision path:
| Severity | Typical approach | Notes |
|---|---|---|
| Mild texture, adequate film thickness | Wet sanding with fine abrasives, then machine polishing | Use plenty of lubricant, work through progressively finer grits, and finish with a compound and polish |
| Moderate to heavy texture | Sand level, then apply fresh clear or topcoat | Confirm remaining film thickness before removing material |
| Extreme texture or contamination | Sand to a smooth surface and refinish | Use a slower reducer and correct air pressure |
Wet sanding removes the peaks of the texture, and the finish is restored afterward by compounding and polishing. Because abrasion removes film, thickness should be measured first: sanding through a thin clearcoat converts a cosmetic defect into a repaint.
Correct the cause before repeating the job
KTA recommends determining the root cause before repairing any coating failure, because repeating the same conditions can restart the failure cycle. Depending on the extent, repair ranges from spot repair to complete removal and replacement. For a production line, that means a defect found in cured parts triggers a review of reduction, viscosity, temperature and gun settings before the refinish, not after.
Does the answer differ outside automotive paint?
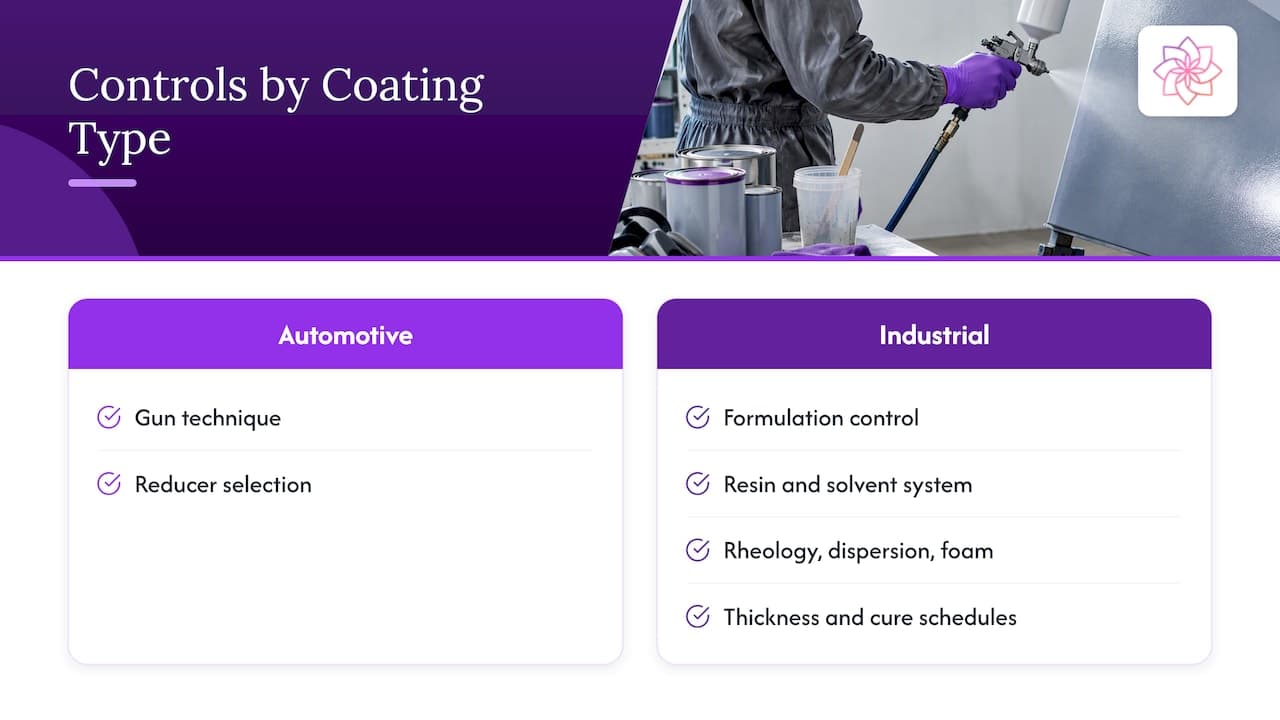
The mechanism is the same in any sprayed or rolled liquid coating: flow and leveling compete with rising viscosity and with surface tension gradients. Industrial topcoats, wood and metal finishes, and some adhesive and ink films show comparable wave structures. The levers differ in degree. Automotive refinish relies heavily on gun technique and reducer selection, whereas an industrial manufacturer controlling a high-volume line also controls the formulation: resin and solvent system, rheology profile, pigment dispersion quality and foam control. Thickness targets, flash times and cure schedules are specific to each system and should be taken from the product's data sheet.
Formulation levers that influence leveling
Application discipline can only compensate for a formulation to a point. Coating manufacturers who see orange peel recur across applicators generally investigate the following.
Viscosity and rheology profile
A coating needs low enough viscosity at the moment of application to atomize and level, and enough structure after application to resist sagging. Rheology modifiers set this balance. A profile that recovers too quickly can freeze texture in place, while one that recovers too slowly invites runs and sags, the very problem that drives applicators to spray light.
Solvent balance
Because the surface tension gradients originate from solvent loss, the evaporation profile of the solvent blend largely determines how long the film stays open. A blend that is too fast produces dry-spray and early viscosity rise; the data sheet reducer recommendations exist for this reason.
Pigment dispersion quality
Poorly dispersed or flocculated pigment raises viscosity, disturbs the film surface and can reduce gloss and distinctness of image, effects that are easily mistaken for orange peel. Wetting and dispersing additives stabilize pigment, reduce the viscosity of the millbase and improve color development and gloss.
Foam and air entrapment
Microfoam, bubbles and craters disrupt the surface. Defoamers, silicone and non-silicone, release entrapped air without introducing surface defects when properly selected and dosed. Over-dosing or an incompatible defoamer is itself a cause of craters and texture, so dosage should be established in laboratory trials rather than assumed.
Our perspective
We see orange peel reported as an application problem far more often than it turns out to be one. Applicators adjust the gun, the reducer and the air pressure, and in many cases that is the right answer. When the same texture appears across shifts and across applicators, the formulation is part of the system and must be examined with the same rigor as the spray equipment.
Our approach is to treat leveling as a balance between several additives rather than a property of one. Dispersant selection sets millbase viscosity and pigment stability, defoamer type and dosage determine whether surface defects are traded for air release, and rheology control determines whether the film can level and still resist sagging. Changing one component without checking the others can move the defect instead of removing it. Laboratory-backed qualification, with optimized dosage, batch-to-batch consistency and documentation for production and regulatory needs, is how we expect a formulation change to be proven before it reaches the line.
— Astra R&D Team
Additive support for coating manufacturers
For formulators and coating manufacturers who trace surface defects back to the formulation, ASTRA CHEMICAL supplies dispersants, silicone and non-silicone defoamers, rheology modifiers and functional coating additives for coatings, adhesives, inks, plastics and composites, together with technical support and custom formulation guidance. The ASTRA product range includes ASTRA DISP® dispersants, ASTRA REO® rheology modifiers and the ASTRA DF® and ASTRA DF NS® defoamers. The ASTRA DISP® pigment dispersant page is a practical starting point for millbase viscosity and pigment stabilization questions.
To discuss a specific defect, qualify an additive or request samples, contact the team through the ASTRA CHEMICAL website. Additional technical articles are collected on the coating additives blog.
FAQ
Why does my new car have orange peel?
Most factory and refinish finishes show some degree of texture, because perfect flatness is difficult to achieve in production spraying. The visibility also depends on how far away the observer stands, since greater distances mask finer structure. Pronounced texture with reduced gloss can be evaluated by a body shop or paint technician, who can measure film thickness before recommending polishing.
What is the orange peel effect in a coating?
It is a wavy, textured surface that forms when a coating does not level before it hardens. Caltrans describes the structures as 0.1 to 30 mm in size and attributes them to poor flow and leveling. The result is lower gloss and a distorted reflection.
How do you get orange peel in paint?
The usual routes are under-reduced paint, low air pressure, a fast reducer, a hot or cold booth, a wrong tip or fan pattern, an excessive gun distance and heavy or thin film build. Sherwin-Williams and PPG both list these among the causes. Several often combine, so the data sheet settings are the first check.
Can orange peel be fixed after the paint has cured?
Often, yes. Mild texture is removed by machine polishing or compounding, and wet sanding precedes this when the texture is more pronounced. In extreme cases the surface is sanded smooth and refinished with a slower reducer at the correct air pressure, after the cause has been corrected.
Can a coating formulation reduce orange peel?
Formulation influences viscosity, solvent evaporation, pigment dispersion and foam control, all of which affect leveling. Whether a particular additive helps depends on the resin system and the defect, so laboratory trials at several dosages are the reliable way to find out.
Sources
- Orange Peel, PPG Refinish
- Appendix A. Coating Defects, Caltrans
- Troubleshooting Guide, Sherwin-Williams Automotive Finishes
- Troubleshooting Surface Appearance, GARDCO
- Spray Painting, Centre for Advanced Coating Technologies, University of Toronto
- Orange peel formation due to surface tension-driven flows, Springer
- Paint Defects Manual, Axalta
- Orange Peel, BASF automotive coatings defects
- Dissecting Orange Peel: A Process-Oriented Approach, Part 1, PCI Magazine
- Troubleshooting for Unappealing Orange Peel, Products Finishing
- A Logical Approach to Coating Failure Investigations, KTA
Testing additives for this application?
Send us your current formulation challenge and our technical team will recommend an ASTRA product package for lab screening.